Finally a renovation post! We have been finishing our living room and bed room. This post is about the renovation process of the living room. The interior is not completely ready yet. Some finishing touches like a carpet or curtains are still coming. However the living room is now in use. Some of the furniture that were originally in the room stayed there, like the shelf and the table. The overall view is still quite retro. We wanted it this way to reflect the time, when the house was build. On the photo above is an old photograph, which we wanted to have on the wall to respect the roots of farm. The couple is Susanna's great-grandparents and the photo was found from the farm. It has to be almost 100 years old.
 This was the starting point for the renovation. The biggest change was to remove the door between the bed room and the living room. The door was never in use. By removing it, we also have more wall space to use.
 One of the coolest things are the messages from the past, when you are renovating an older house. As we were removing the old floor baseboards we noticed, that Susanna's grandfather had written there: "Parempi kammari", which means a better room. This room was earlier used only for guests and on special occasions like birthdays or anniversaries.
 We continued making the same procedures to walls in the living room as we did in the dining room (see the post Let's make it bright).
First with the help of Susanna's father we placed thin plasterboards on top of the old wallpapers. Then we painted the ceilings. Finally we placed the fibreglass wallpaper, which was this time way faster because we knew already what to do. Our cat Luigi was also giving a helping paw. When the wallpapers were fixed, we painted them white like in the dining room.
We continued making the same procedures to walls in the living room as we did in the dining room (see the post Let's make it bright).
First with the help of Susanna's father we placed thin plasterboards on top of the old wallpapers. Then we painted the ceilings. Finally we placed the fibreglass wallpaper, which was this time way faster because we knew already what to do. Our cat Luigi was also giving a helping paw. When the wallpapers were fixed, we painted them white like in the dining room.
 For the floor we chose a prefinished oak parquet floor. Main reason was the old plastic coated flooring, which we kept underneath the new floor. The removal of the old floor would have required a specialist and an isolation, because of the asbestos glue that they used to attach the old flooring. The prefinished parket floor was a safe, inexpensive and goodlooking choice. It also has a good durability in a long run.


 Placing the floor was quite fast and easy. Now screws or glue needed.

 For the ceilings we made the same crown molding as we have in the dining room. We used white painted pine, that had the same profile as the crown molding of the room originally.
 The retro look comes from the furniture, that date back to 60's and 70's. This sofa and armchairs are from a Finnish manufacturer Asko. We got them from our favorite retro shop in the town – Retro&Romu (see the post Retro trip). The table was originally in the room and stayed exactly in the same place. Tobi sanded and oiled the surface of it and repaired it by adding a new layer of veneer on the side of the table. The old painting on the wall is our farm and the old main building. Some other buildings of the painting are still existing.

 The shelf is also on its original place. We only painted the handles black, so it would suit better to the rest of the room. The picture on the wall is an old hand drawn map from the farm.

 That is all for now. The next step with the renovation is the restroom and the corridor in the main floor. Then we are finished with the main floor. We will keep you updated, when the things are going further. We also have to show our bed room, which is also almost ready. Stay tuned and enjoy the last days of Autumn!
The last post of this year is dedicated to maybe the most important place for the finns - sauna. It's about Finnish mentality "sisu", which got us this far with the renovation. But mostly it's about Tobi's carpenter skills, which is the main reason for our stunning sauna. In a country with 5 million inhabitants, there is over 3 million saunas. That tells something about the importance of sauna in Finland. When the settlers were moving into a new area, they built first a sauna and lived there so long as the making of the whole house lasted. Sauna was not only the place for washing, but the place for giving birth and the place, where the dead loved ones were washed the last time. Sauna was for us also something considered as self-evident. We already wrote a little about our sauna in the post Smokey sauna and almost ready restroom and now it's time to show it all.
We continued with the walls by attaching the painted spruce panels with a nail gun. Underneath the wood is an aluminium foil, which protecs the building from the steam. Under the foil is an isolation, that the warmth will stay in the sauna.
The best part was to build the sauna benches. We started it by building bench structures and legs out of pine. We painted them transparent black with Tikkurila's Saunasupi, so they would blend to the black walls.
Because of the size of the room and the places of the door and the sauna stove, we came up with a solution, where the upper bench has the shape of u. The structure of the benches were attached into the framework of the wall. Between wall and the bench structure needs to be air, that the wood will stay dry and clean. This was created by attaching little pieces of wood to the structure. Now there is about 5mm gap between the bench and the wall.
We chose aspen for the benches, because of the quality, the bright color and we wanted to use Finnish wood. The almost white wood creates nice contrast with the black walls. First Tobi attached the front parts of the benches.
Next part was to build the sitting parts for the benches. Tobi made them removable, that they will be easier to clean. First the aspen boards were placed to the bench structure. The gaps were done by placing 10mm thick pieces of wood between them. Then the boards were screwed together with black wooden parts underneath the bench.
The finishing look for the sauna was created with the backrest. We wanted it a little slanted, that it would be ergonomic to lean. The backrest was attached to the panels with black wooden parts. Then we tested how the sauna benches work. It was easy to remove the seats and put them back again. Yippee!
Last step was to make the stools. Susanna tested carpenter work by making one of the stools. It was lot of fun for her, but not for Tobi's nerves. We decided, that further on Tobi can mainly focus on the big scale wood work.
We had some struggles along the way. For example the chimney needed to be planned at the very last moment again. We had doubts about the fireplace, would it give enough heat to the big sauna? But all troubles were gone the moment, when we tested heating first time. All worked better than we expected. Also the look turned out the way we wanted. In the warm light and darkness is good to relax and enjoy. We got the Rento bucket (saunakiulu) as a Christmas present and it's like made for here. With our new beautiful sauna we are ready for the new year.
We had a goal to make all the rooms ready at the basement before holidays and we almost made it! The workshop spaces are still unfinished, but otherwise. In some miraculous way also our sauna is despite some difficulties now ready, but not yet tested. We are still waiting the paint to dry. Now it's time to show our huge bathroom. We installed our new showers over a week ago and this week our electrician made the lights work. Day before yesterday we finished our bathroom furniture and now the room is starting to look a bit more ready. This year the Christmas Eve is black and rainy. Instead of going to our forest for picking a tree, we found a cute pine from our yard. We wanted to have something green in our bathroom, so the pine will do it for the holiday time. The big green blue glass bottle is also a treasure from the farm. It looks pretty nice with the Christmas pine.
Tobi made the finishing touch to the bathroom by filling the seems with black, grey and white silicon.
We have been showing sneak peeks of the bathroom already, the white tile wall Renovation news plus the floor and the ceiling Hello to new floors and ceiling. But this blue wall we have been keeping til now unrevealed. Most of the surfaces in the bathroom are black and white, so we wanted to gave a little color to the space. These tiles are Pukkila's shiny blue tiles, leftovers from another construction area. The shiny blue makes the room lively and gives freshness. It creates also beautiful reflections together with the old window. And blue is the favorite color of both of us.
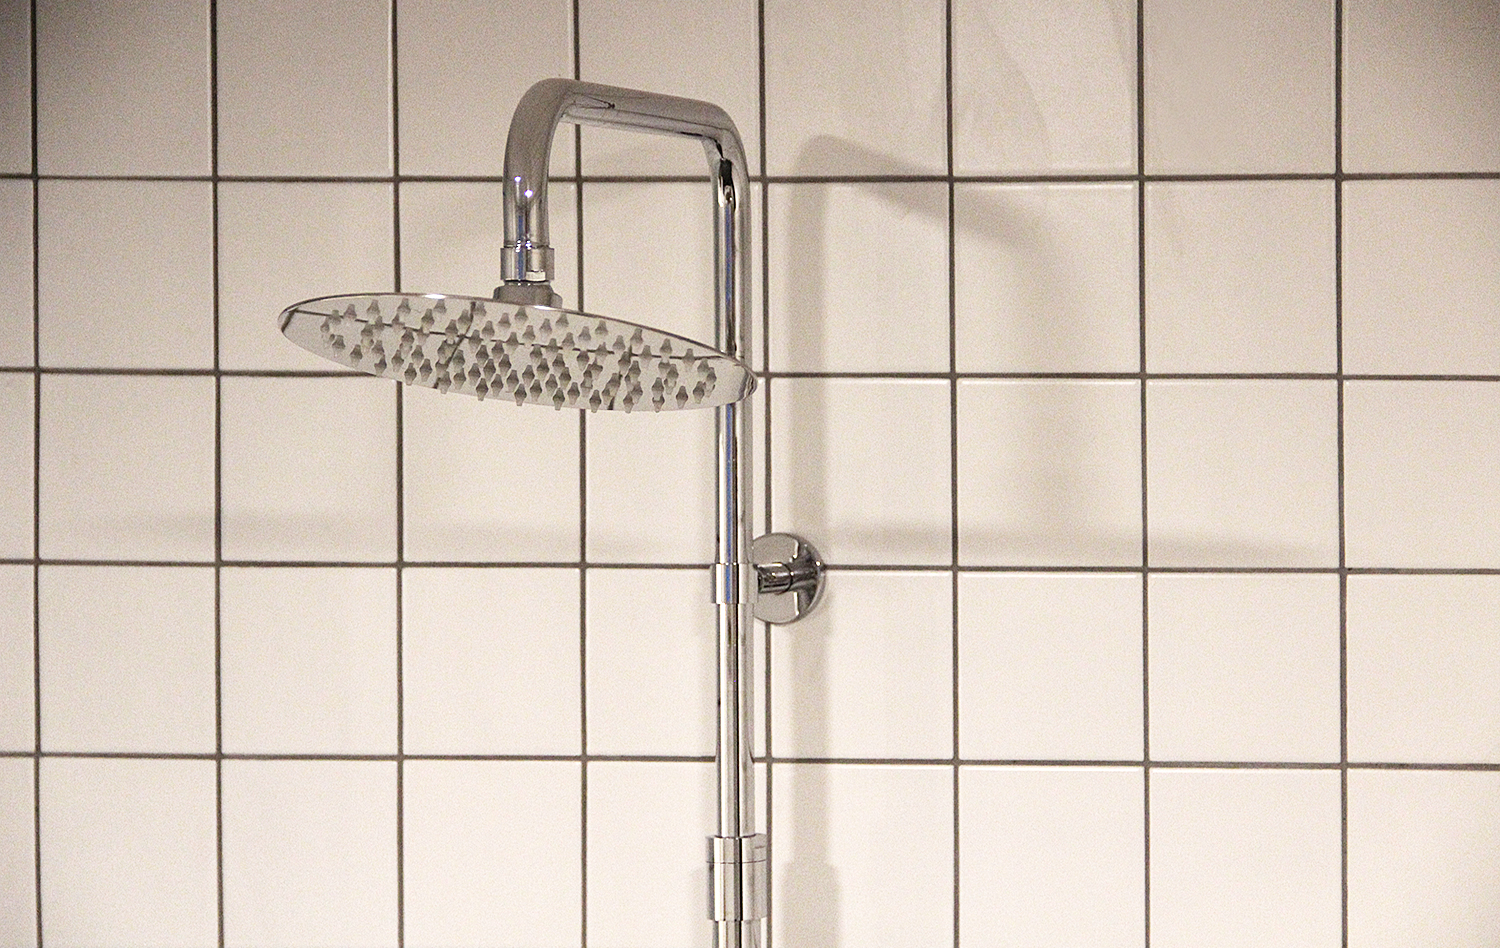
We got lucky by finding these chic rain showers with a really good offer from the local S-Rauta in the town Karkkila. They are from a Finnish company Grana. They are fitting really well with the round led lights and fullfilling nicely the space. Our electrician installed this week the round retro style switches, which are looking damn good with the old brick walls.
We had some leftover wood from making of the sauna, so Tobi made a bench out of the aspen and Susanna oiled it. We wanted to have the same style with it as the restroom furniture (Smokey sauna and almost ready restroom). The bench is now on the other side of the showers for cooling after the sauna.
Now is the time for us to take a little break from renovating and enjoy of our new home. Happy and relaxed holidays to you! Hugs and greetings from Koivisto.
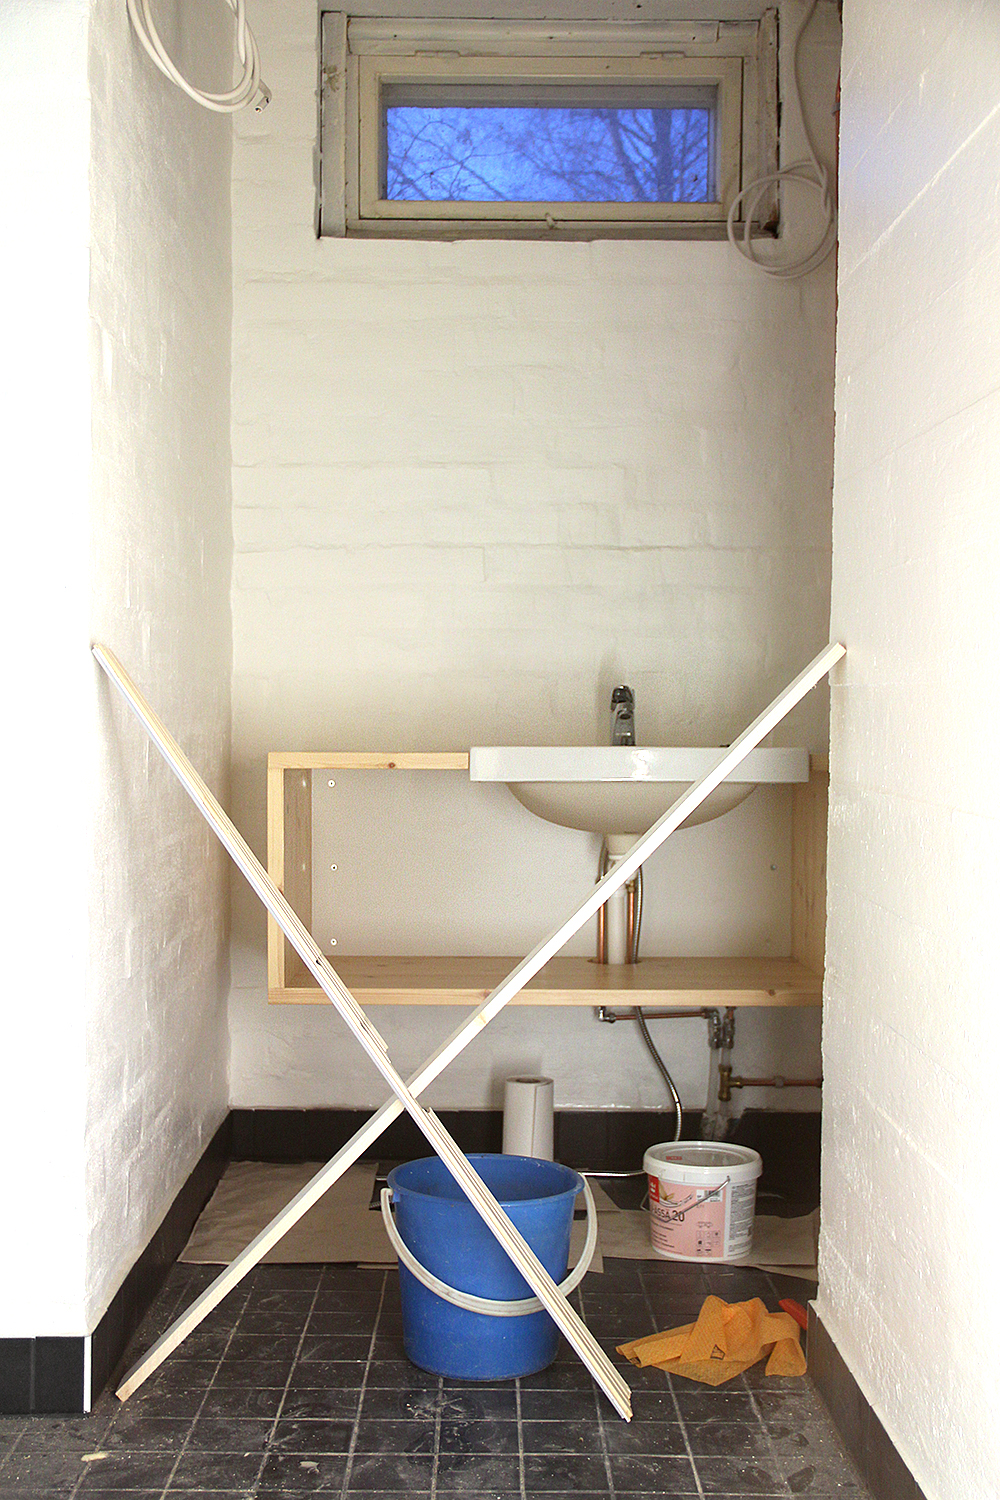
Finally we have something ready or almost ready to show. The conversation piece at the moment is our restroom furniture at the basement. We love the original pine veneer doors in the house (here you can see one Let's make it bright) and wanted to continue with pine also in the basement. Since the color palette in the restroom is black and white, we needed an eyecatching element there. The space for the restroom was not so big, so we chose to build an open shelf, which itself is quite big but because it's open it doesn't feel too massive. With the sauna we wanted a look from the traditional Finnish smokey saunas with a modern twist. After the preparation work it was time to make the sauna dark, almost black.
At the beginning of this week we heard, that our plumber is coming here the last time before the holidays. We were desperate to have the sink installed before Christmas, so we rolled up our sleeves and got on with it. We drove to the nearest place, where we could get pine plate for the shelf. Turned out that we had to drive over 60 kilometers, but it was all worth it. Tobi showed his carpenter skills by doing a classic wooden finger joint, which turned out to be a beautiful detail in the restroom.
The old sink from a Finnish manufacturer Arabia was stored in the barn house, but luckily it was still in a good condition. We liked the shape of it and wanted to take it in use again. Also our pine plate was made out of Finnish wood, so we were quite happy to combinate the two.
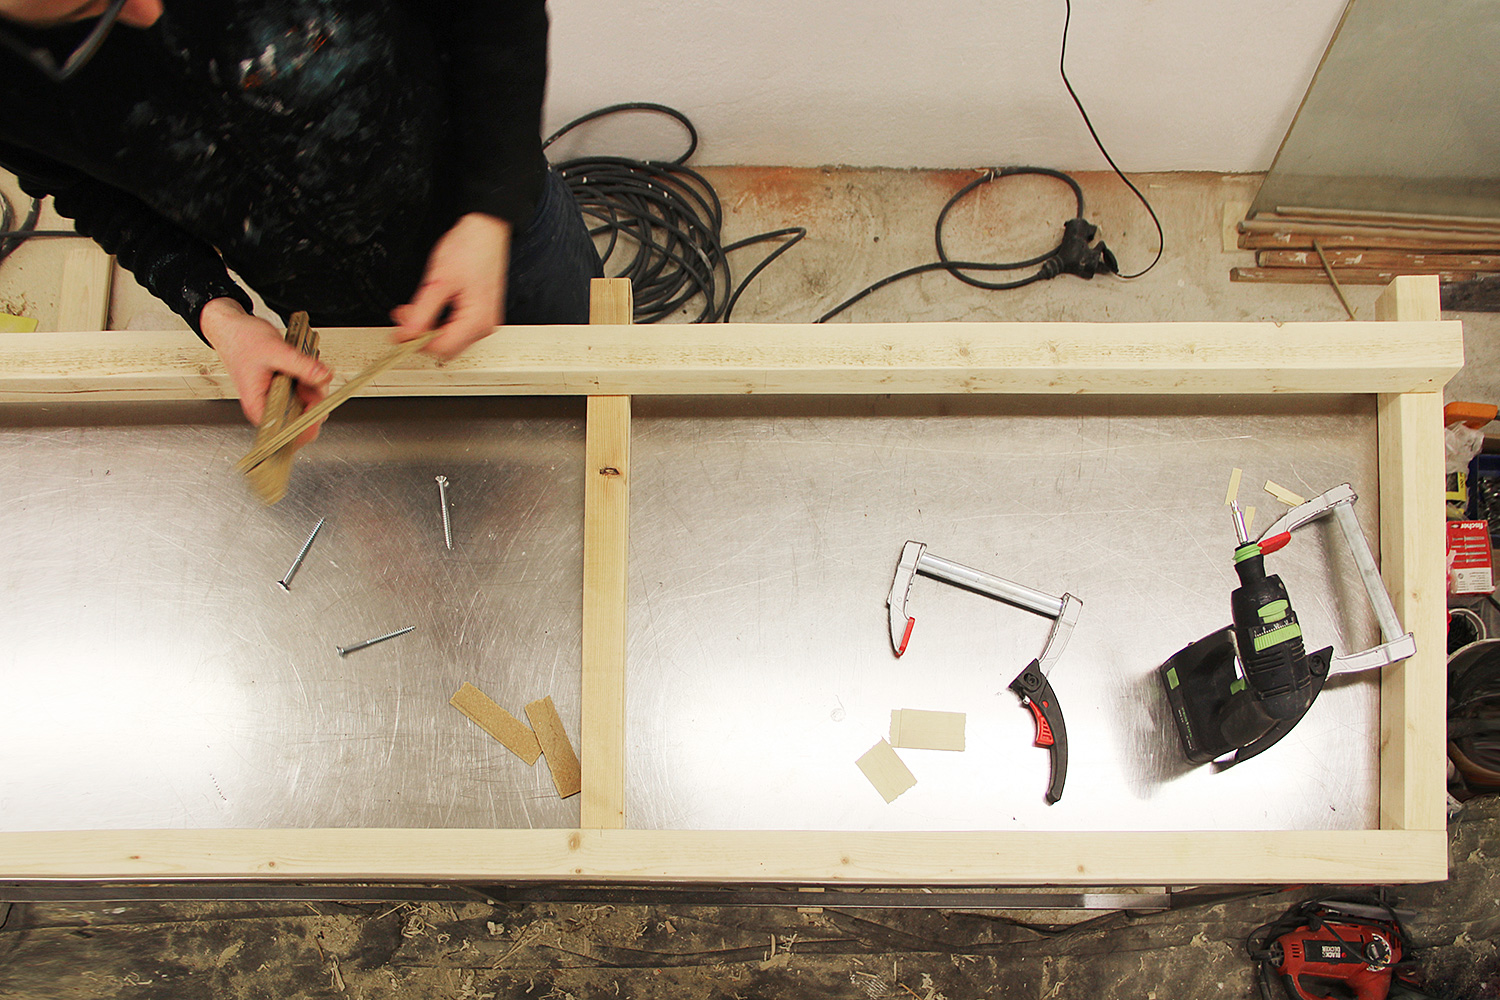
After putting the shelf pieces together the holes for the sink were sawed. Then we did a finishing touch for the surface with a half glossy lacquer. Tobi attached the shelf to the restroom wall with screws and dowels. We wanted to hang it to the wall without legs to keep the space more open and keep the feel of lightness. Finally the sink was attached with a transparent silicone. Tobi used this red little helping tool to make the seems neat.
The shelf was lacquered once more after the plumber's visit. In total there are three lackquer layers to make sure that it protects the wood. No one had access to the room as the lacquer was drying.
As the lacquer was drying Susanna painted panels, that would be used in the sauna. For the panels we used a black toned color. The idea was to make them dark and a little transparent, so that the texture of the wood can still be seen. Our sauna will have room for many, which ment that the painting took some time.
First we isolated the ceiling and the walls. The ceiling needed to be complitely done before the walls. It was made in a similar way with a nail gun like the white transparent ceiling in the bathroom (more in this post: Hello to new floors and ceiling). The difference was, that the nails are shooted from the front side to make sure that the humidity will be the same in every part of the room.
The foil was placed under the ceiling and the walls, that the steam can't make any water damages. On top of the foil we attached wooden boards for the panels and the upcoming sauna benches. For this we used the old floor boards from the dining room, which we took out in the summertime (a good way to reuse the boards Eating out - updating in).
The sauna door is the first working door at the basement - a little used like the sink, but still okay. This panel wall on the photo is now ready. On the right side will be the sauna stove and we are going to work with the concrete wall by painting it black. Looks like the dark room is tempting for scary people. Have to watch out!
Here is now a lot going on, because we try to become so far as possible before the year changes. We want to keep you updated about all. We have new and functioning toilets now in every floor, three Ido -toilets that are using less water as the old ones. Also our showers has been working a few days now. What a relief, that we don't have to warm the sauna by the river every day in this cold weather. At the moment the bathroom is too messy to photograph, but hopefully we are able to do it soon. Wish us luck, that we have the sauna ready until the end of 2016. And now heading back to renovate!